This is the third post in a series about how to use your Redman Blog. You can read the first post in the series here How To Series – Logging Into Your Redman Blog, and the second post here How To Series – Writing a Post.
By default, every Redman Tech Real Estate site’s blog has some default widgets enabled in the sidebar of the blog. These default widgets show a Subscribe button, a search box, the monthly archives of the blog, all the categories used for the blog and additional ‘meta’ information. While these are nice (and helpful for navigating your blog) these default settings are often not the best option for REALTORS looking to create a robust, information rich blog. They become to much, very fast and detract from the overall look, and usefulness of the site.
A quick and easy solution for this, is to customize the widgets in your sidebar. This is a very simple procedure, and can be done via the back end of your blog in a few easy steps.
If you are a current Redman client and do not have a blog but would like one, or if you want to become a Redman client please contact sales@redmantech.com or call 1.866.425.0022 today.
To get started customizing your Redman blog’s sidebar, follow the steps below.
Step One
Log into your real estate website’s Workstation. On the right side above the calendar there will be a link that will allow you to Access the Blog. Your bar may contain other links as well depending on the products you have purchased. By clicking the Access Blog link, you will automatically be logged into your blog in a new window or tab.

Step Two
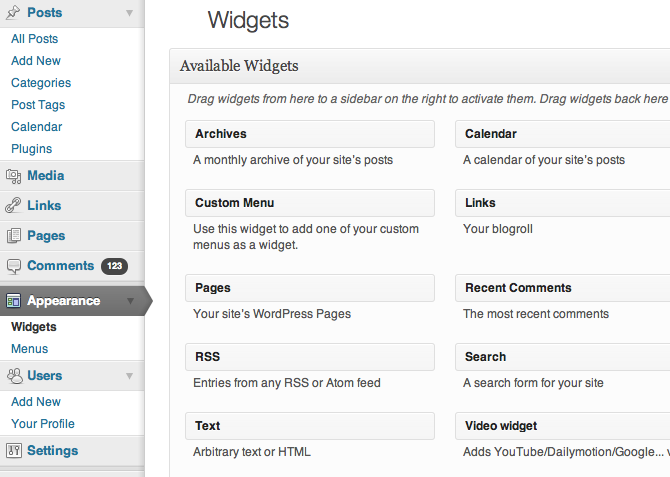
Along the left side of your browser you should see a sidebar that houses the navigation for the back end of your blog. Below the Comments button, you should see your Appearance button.
This buttons gives you access to the widgets, and widget options for your site. Widgets are like small apps that perform a specific function.
Each widget performs a different function, if you click the little arrow on the end of each widget, you will get an explanation of what it is they do.
Step Three
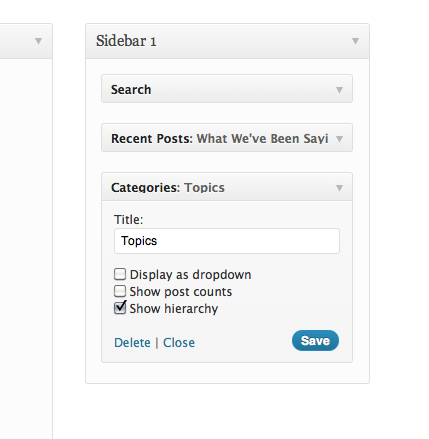
To install a widget in your sidebar, simply click and drag the widget you would like to use into the area under ‘Sidebar 1″. This will expand it’s options and allow you to further customize the way the widget works. Each widget will have it’s own set of options and things you change/add.
When you’ve made all the changes you wish to make, simply press Save
Step Four
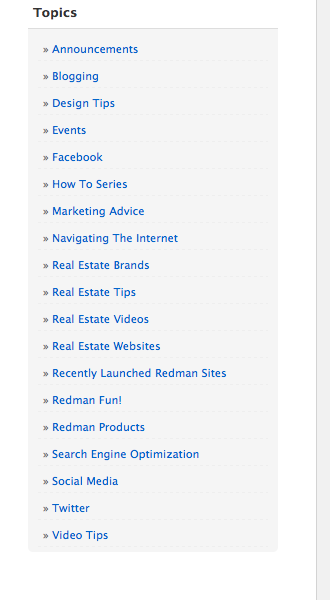
Now navigate to your blog (Usually blog.yourdomain.com) and view the changes.
When you’re adding widgets to your sidebar keep in mind the length of the widgets you are adding. If you are like us and have a number of topics your blog covers, you may want to keep the widgets in your sidebar to 1-2. This way on shorter pages, your sidebar won’t look out of place.
An easy way to cut back on the amount of widgets you have installed, but still offer the ease of use on your site is to look at the overlap some widgets create. If a user can sort your posts by category, it is generally not needed to also include the archives. The month a post was posted is of little value compared to what the post is written about (indicated by the category).
If you have any questions on a specific widget or you would like to learn more about how to use your Redman blog, check out the Redman Tech Support Site for helpful tips and tutorials, and be sure to Like us on Facebook to keep up to date on all the latest news, products and tips from Redman Tech.
Want to know why a blog is so important? Read our previous posts on How Blogging Can Boost Your Business and Why Content Matters So Much To Your Real Estate Clients.
Sign-up For FREE Updates