This is the second post in a series about how to use your Redman Blog. You can read the first post in the series here How To Series – Logging Into Your Redman Blog.
To add content to your blog, you will need to create blog posts. Posts are the most common way to split your blog’s content between dates, subject matter, and/or type. Compared to a page (that we will be covering next in the series), a blog’s post will automatically appear on the front page of your real estate blog above the previous entries and remain in this order of newest to oldest as you continue to add more. A page is generally used for static content, or information that won’t change often.
If you are a current Redman client and do not have a blog but would like one, or if you want to become a Redman client please contact sales@redmantech.com or call 1.866.425.0022 today.
To get started creating posts on your Redman blog, follow the steps below.
Step One
Log into your real estate website’s Workstation. On the right side above the calendar there will be a link that will allow you to Access the Blog. Your bar may contain other links as well depending on the products you have purchased. By clicking the Access Blog link, you will automatically be logged into your blog in a new window or tab.

Step Two
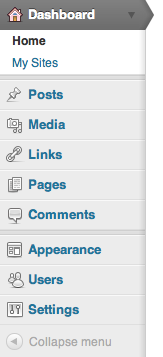
Along the left side of your browser you should see a sidebar that houses the navigation for the backend of your blog. Below Home and My Sites, you should see the button that says Posts.
This Posts button when clicked, will bring you to the Posts’ landing page and expand to give you more post related options.
As a precaution, we suggest that if you are unsure about what the additional features do or how they work that you do not change any of their settings or defaults. The probability of the blog being damaged is extremely high if the wrong option is changed.
Step Three
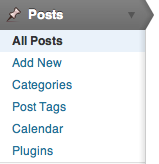
Each option on the Posts expanded list will allow you to do a different task.
All Posts allow you to view all past, present and draft posts that are currently entered into the site.
Add New is a shortcut you can use to create a post.
Categories are used as a way to sort your posts into broad topics such as Real Estate, Home Staging, Market Information or Renovations.
Post Tags are used to further sort your posts. Tags are not dependant on Categories and are used to highlight the specifics about the post.
Calendar is an awesome feature we’ve added to our Redman Tech blogs, this allows you to write, store and schedule posts months in advance on a calender.
Plugins will bring you to an area where you can activate and deactivate preloaded plugins on your blog.
Step Four

When viewing ‘All Posts’ you will see the title, status (draft/scheduled/posted), the author, the categories, the tags, the number of comments, and when the post was last opened.
Hovering over the title of the post, you will be given the options to edit, quick edit, Trash or preview the post.
Edit will bring you into a robust editor that will allow you to add, edit and fully style your blog post. Here you can add images, bold things, add links, and set the categories and tags.
Quick Edit will give you access to basic elements of the post like it’s title, tags and categories. Quick Edit is best used when you need to make a quick/minor alteration to your blog post.
Trash when clicked will send the post to a temporary trash bin much like an email client. The post will remain there for 30 days, and then will be deleted completely.
Preview will bring you to a version of your blog post as it will look on your site. You can see how your images work in relation to other elements on your blog and if there are any clashing colors you may want to change.
Step Five.One
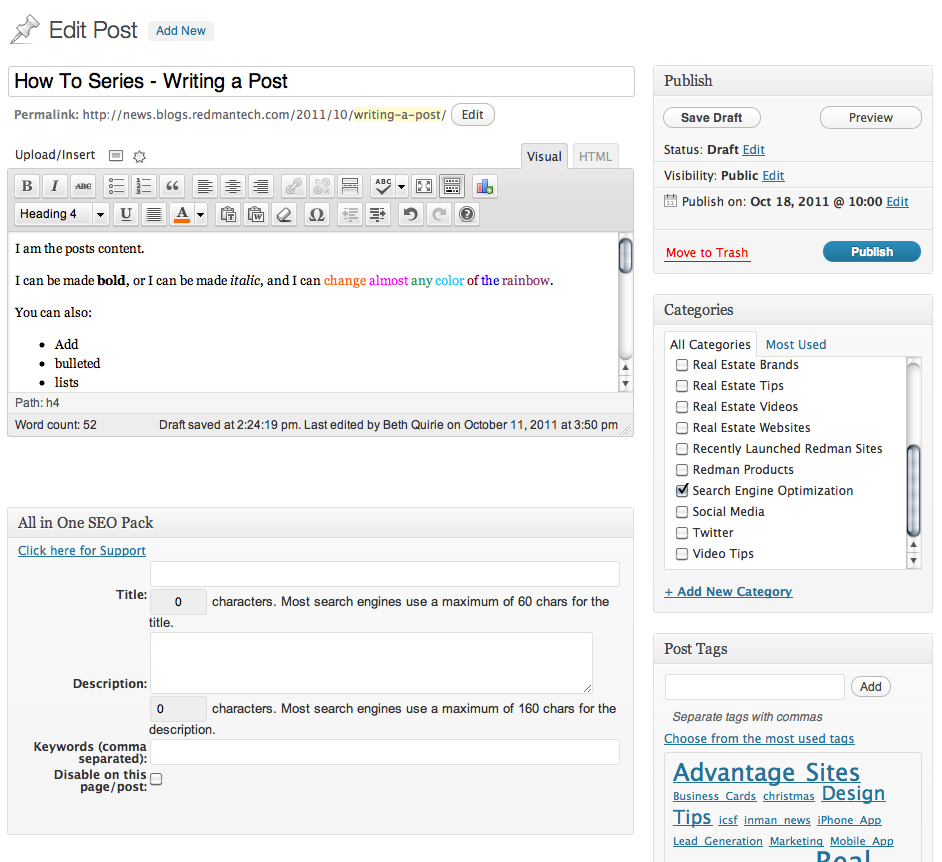
When you enter the Edit screen, there are a number of different areas to enter information about your blogs post.
Below each part is explained.
Step Five.Two
This is where you enter your post’s title. Use capitals, spaces and punctuation as you would like them to appear on the blog.

Step Five.Three
This is where you can add an easy to read, SEO friendly URL for your blog post. Later in this series we will look at what makes a URL SEO friendly. The key things are to keep it short and to the point.

Step Five.Four
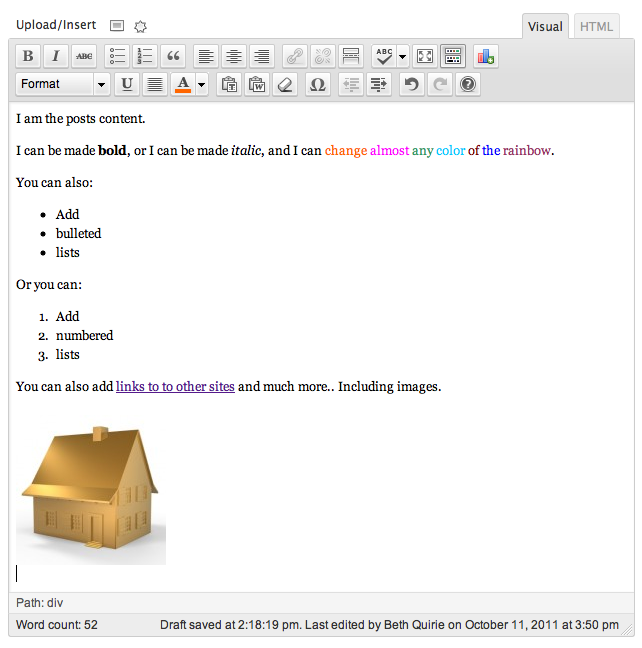
The post editor is where you put the real meat and potatoes of your blog’s post. You can add as much, or as little content you like and format it to your liking.
Step Five.Five
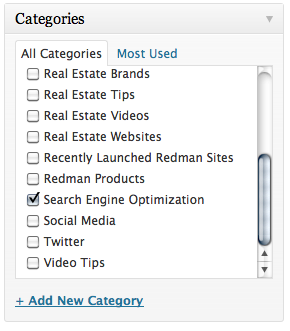
Using this panel, you can check off the categories for your post. This will list any categories you’ve used in the past as well as gives you the option to create new ones.
Try to limit the amount of categories you have that are similar in theme, categories are designed to cover the general theme of the posts.
Step Five.Six
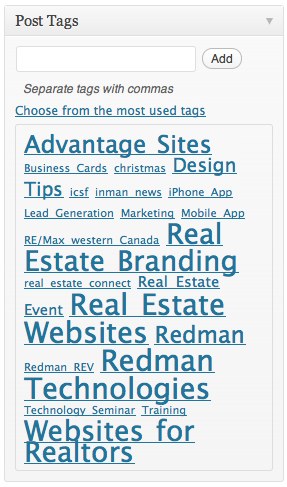
Similar to the categories panel, here you can add tags to your post. The larger the word is in the tag cloud (The jumble of words below) the more it has been used, the smaller- the less. You can also add new tags, separating them with commas.
Unlike categories, you can add as many tags as you like that are relevant to the post. This will help your users find something on a specific topic such as renovations that can be mentioned in different categories.
Step Five.Seven

The last element we are going to look at in the editor is the publish options. This is where you can choose when to set the post live, change it’s status, show or hide it, preview how it looks, set it live or trash it.
Step Six
When you have all the information set for your post, selecting Publish will set your post live.
If you would like more information on the Calendar feature we mentioned, check out our post dedicated to it: Editorial Calendar – A Blogging Must!
To learn more about how to use your Redman blog, check out the Redman Tech Support Site for helpful tips and tutorials, and be sure to Like us on Facebook to keep up to date on all the latest news, products and tips from Redman Tech.
Want to know why a blog is so important? Read our previous posts on How Blogging Can Boost Your Business and Why Content Matters So Much To Your Real Estate Clients.
Sign-up For FREE Updates